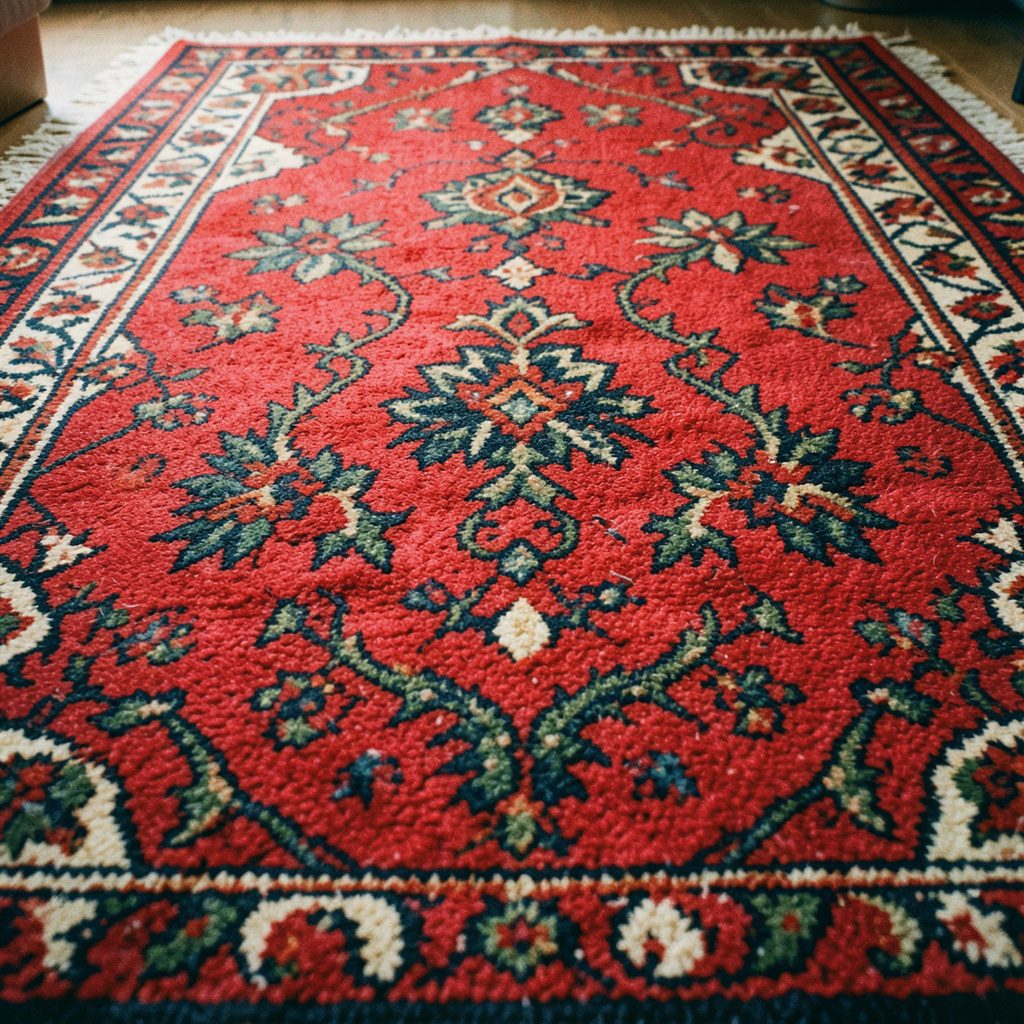
Making a Geometric Needlepoint Eyeglass Case
A needlepoint eyeglass case is a useful small project for practising counted stitches, colour planning, and neat finishing. A geometric design suits the narrow shape especially well because diamonds, stripes, chevrons, and stepped squares can be repeated without complicated shaping.
For Australian makers, a handmade case is practical throughout the year. Sunglasses are often carried during bright summer days in Brisbane, Perth, or Adelaide, while reading glasses may travel between a home office, a handbag, and a café table in Melbourne or Sydney. With a firm canvas, washable wool, and a simple lining, the project can be both decorative and durable.
Choosing The Design And Materials
Begin with a design that can be read easily on a small chart. A repeating border of diamonds or interlocking squares is a sensible choice because the pattern remains recognisable when the case is folded. Avoid motifs with large isolated areas unless you are confident about keeping the tension even across long rows.
Needlepoint canvas is usually stiffer than fabric used for cross-stitch, which makes it suitable for protecting spectacles. A mono canvas gives a clean, regular surface, while an interlock canvas is forgiving for a first project. Choose a size that allows the whole design to sit comfortably inside the finished front and back panels, with room for a narrow margin.
Gather the working materials before stitching:
- 13- or 14-mesh needlepoint canvas
- Tapestry needles in a suitable size
- Tapestry wool, cotton, or a smooth blended thread
- A small embroidery hoop or stretcher bars
- Sharp fabric scissors and a ruler
- Lining fabric, sewing thread, and a closure
Wool is forgiving and gives a softly raised surface, while cotton produces crisper geometric edges. Smooth thread is easier to count than fuzzy yarn. Australian craft chains such as Spotlight commonly carry basic canvas, tapestry needles, felt, and lining fabric, and independent stalls at local makers’ markets can be useful for finding unusual hand-dyed fibres.
Measuring The Case And Canvas
Measure the glasses before drawing the pattern. Place them flat and record the widest point of the frames, the overall length, and the depth created by the arms when they are folded. Add approximately 15 mm to the width and 20–25 mm to the length so the spectacles can slide in without catching on the stitching.
A typical adult case may finish at about 9 cm by 18 cm, but sunglasses with broad frames need more room. Make a paper template first and test it around the folded glasses. This is especially useful when designing a case for oversized frames, which are common in strong Australian sunlight.
The canvas should include a stitching margin beyond the finished measurements. Mark the centre line and the outer boundary with a removable pen or a few contrasting basting stitches. If the design is symmetrical, begin charting from the centre rather than from one edge. That method prevents a small counting error from leaving the pattern visibly off-centre.
Keep the top opening slightly wider than the lower body if the case will have a flap. For a simple envelope style, two equal rectangles are easier to cut and join. A rounded flap can be added after the main geometric field is complete, but it requires careful canvas cutting and a firm row of edge stitching.
Planning A Balanced Geometric Chart
Counted needlepoint works best when the colour arrangement is decided before stitching begins. Select one dominant shade, one contrasting shade, and a small accent. A deep navy with cream and rust can suggest an Australian desert palette, while eucalyptus green, charcoal, and warm gold create a quieter appearance.
Test the combination on a small scrap of canvas. Colours can appear stronger when surrounded by a large field of pale thread, and variegated yarn may interrupt the regularity of a diamond. Keep the central motif bold and reserve the accent colour for small squares, border points, or a single dividing line.
| Geometric element | Suggested use | Useful effect |
|---|---|---|
| Diagonal stripes | Main body or flap | Creates movement and is easy to count |
| Repeating diamonds | Centre panel | Gives a traditional, balanced appearance |
| Stepped squares | Border or side panels | Works well with two contrasting colours |
| Small chevrons | Opening edge | Adds detail without crowding the case |
| Checkerboard blocks | Full panel | Makes a strong graphic statement |
A border of four to six canvas rows can frame the design, but leave enough space for sewing. If the outermost motif reaches the cut edge, stitches may unravel during assembly. Draw the design on squared paper or use a copyright-free chart that can be adapted to the dimensions of the case.
Stitching The Geometric Surface
Basketweave is a reliable ground stitch for a protective case because it reduces distortion and creates a firm, even fabric. Work in diagonal sections and change direction as the shape of the area changes. Tent stitch is faster and uses less thread, though it may cover the canvas less fully and show more texture underneath.
Use a blunt tapestry needle and avoid pulling the thread tightly. The canvas should remain flat rather than becoming puckered. If you are comparing stitch families or looking for a suitable decorative border, the needlework stitch guide can help you choose techniques that match the scale of a small accessory.
Work each geometric section completely before moving to the next colour. Carrying thread across the back can create ridges that may scratch glasses or make the finished case bulky. Instead, end the thread neatly and begin again in the next area. Keep the reverse tidy, particularly if the lining will be lightweight.
For small diamonds, outline the shape with tent stitch before filling it. This makes the edges easier to count and helps keep points sharp. A contrasting outline can make a motif stand out, but too many outlines may give the surface a crowded appearance. Pause regularly to check that repeated units remain aligned.
Shaping And Lining The Case
When the stitched panels are complete, place them face down on a clean towel and block them gently. Pin the canvas to the correct measurements, mist it lightly if appropriate for the fibre, and allow it to dry naturally. Do not soak wool or use high heat, as shrinkage and colour bleeding can alter the geometric design.
Trim the canvas only after blocking. Leave a sewing allowance of around 1.5 cm, then secure the cut edges with overcasting or a row of close whip stitches. Join the front and back with a strong mattress stitch or a neat blanket stitch. Keep the top edge open and reinforce both upper corners, where the fabric receives the most stress.
A cotton, linen, or soft felt lining protects the lenses from rough canvas and loose thread ends. Cut the lining slightly smaller than the outer case so it sits smoothly inside rather than pushing against the seams. Insert it with the wrong sides together and slip-stitch it around the opening.
If you use a hoop while stitching, select one that holds the canvas firmly without crushing completed areas. A hoop size guide is useful when comparing small round hoops with larger frames. Remove the canvas from the hoop whenever you stop for a long period to prevent permanent marks.
Finishing Details And Everyday Use
The closure can be as plain or decorative as the geometric design. A small press stud hidden beneath the flap gives a clean finish, while a loop and button suit a more traditional needlework style. Sew the fastening through the lining and outer fabric, adding a small fabric reinforcement on the reverse.
Before trimming threads, inspect the case for loose ends, uneven corners, and places where canvas remains visible. Check that the glasses slide in freely and that the lining does not catch on the frames.
- Turn the case inside out gently to inspect the seams
- Trim loose fibres close to the stitching
- Test the closure several times
- Wipe the finished surface with a dry, soft cloth
- Store it away from prolonged direct sunlight
A case carried in a beach bag or left on a sunny dashboard may fade over time, particularly if it contains bright wool or hand-dyed thread. Keeping it in an inner pocket protects the stitching from sunscreen, sand, and moisture. For travel between home and work, a firm case with a secure flap is more dependable than a soft pouch.
The same chart can be adapted into a matching glasses cord, needle book, cushion panel, or small carpet-style sampler. Change the thread weight or canvas mesh to alter the scale, but keep the colour rhythm consistent. A carefully counted geometric motif gives even a modest project a polished, individual character.