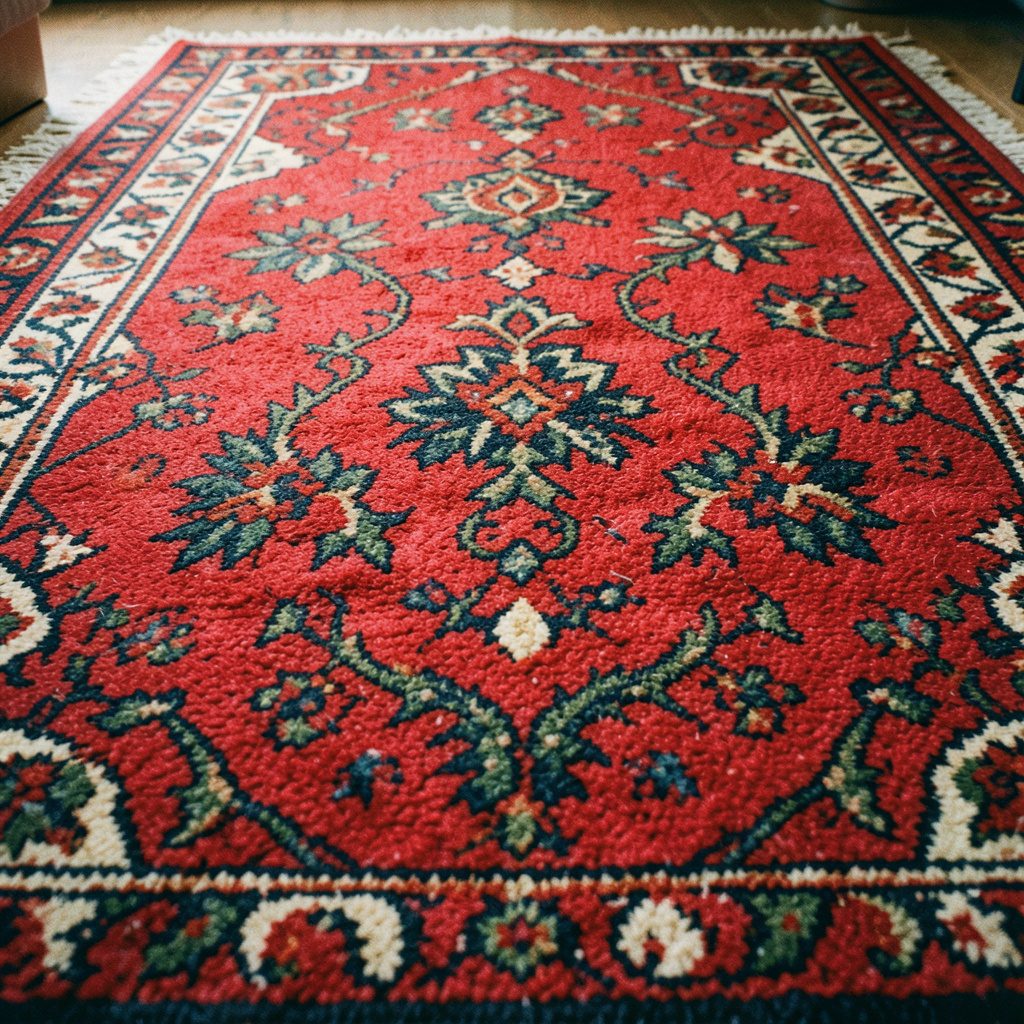
How to add a fabric backing to a cross-stitch project
Finishing a cross-stitch piece involves more than tidying loose ends. A fabric backing adds support, covers thread knots and joins, and helps a sampler, cushion front, or framed panel hold its shape. It is an extra layer rather than a replacement for good blocking, and the right material keeps the stitched front clear.
Work only after the design is complete, dry and firmly blocked. Remove temporary pins and check that the edges are square. Decide whether the backing will sit inside the frame or extend beyond it, because that choice determines how much extra cloth to allow and where the joins should remain.
Needlework Guide offers copyright-free stitch guides and charted patterns for several needlework crafts. The background on Needlework Guide explains how those resources fit together, which is useful when checking a design's expected size, finish, and construction before you cut fabric.
Prepare the stitched piece
Press the embroidery on the reverse, following the care instructions for the thread and ground fabric. If the piece is washable, wash it first and let it dry completely; sizing can leave a stiff area that resists the backing. Work on a clean, pale towel so stray lint and fibres are easy to spot.
For a framed panel, smooth the work into a neat rectangle without forcing a slightly uneven edge straight. Lightweight stuffing behind the design can help you judge its shape without permanently changing it. Keep temporary basting stitches until the backing is attached, but remove any thread that could leave a hard ridge on the front.
Raised stitches need care before they are enclosed. This guide to French knots explains how the wrapped thread and tails behave, helping you trim or secure them without loosening the knots. Leave enough clearance between each knot and the backing so the texture stays visible and the thread is not flattened.
Choose a backing fabric
Choose a plain-weave cotton, linen, or cotton-viscose fabric that is light but stable. Tightly woven poplin or medium-weight calico suits small samplers, while a broader cotton sheet gives a cushion front more body. Avoid jersey, pile, and loose muslin, which can stretch or show through. In humid Sydney and Brisbane, breathable natural fibres generally suit a framed panel better than a smooth synthetic sheet that can trap moisture.
Measure the finished piece before buying cloth. Australian independent haberdasheries and online craft stores commonly sell inexpensive cotton offcuts by the metre, so remnants can suit small projects; take measurements from the actual embroidery rather than relying only on the chart. The background on Needlework Guide sets out how its free resources are organised, which can help confirm a pattern's expected dimensions.
Size and shape the backing
Add 5–8 cm to each dimension if the backing will be hidden behind a frame. For a cushion front, allow enough to wrap to the seam allowance, using a continuous piece where possible so joins do not run through the stitched design. A cutting mat and sharp rotary cutter make larger shapes more accurate than small snips, and square corners suit most frames.
Embroidered areas on counted Aida or evenweave can usually be trimmed away, leaving the stitching in a neat rectangle. Cut slowly over a pale towel to avoid lifting fibres. For cloth-backed designs or large unstitched areas, keep the ground intact and attach the backing without trimming around the pattern. Pre-wash new cloth if it may shrink, press it lightly, and avoid hot ironing over glued or metallic threads.
Attach the backing without damaging the front
Pin or baste the backing to the reverse in several places, with the right sides facing away from each other. Use pins through existing holes where possible, taking care not to mark the stitched face. Remove each pin as you reach its area and check that the work remains flat and square.
Use a tapestry needle and doubled thread for small, even stitches between the back of the embroidery and the backing. The thread should take a firm hold without pulling the face into puckers. If the outer edge has no open holes, catch the backing to the edge thread or hem rather than pushing a needle through visible stitching.
Work around the perimeter, keeping the joining thread on the reverse. A ladder stitch or small overcast stitch suits a sturdy sampler; a spaced running stitch is gentler on delicate cloth. Secure each thread with a tiny backstitch, then trim the tail. Inspect the front regularly, and release any lifted section before securing it again, since tight outlining stitches can gather the fabric.
Finish the edges and conceal the joins
Raw backing edges can fray behind a frame, but they need not be heavily enclosed. Trim them neatly or use an overlocker to stabilise the edge. On a sewing machine, a narrow zigzag or straight stitch close to the raw edge can prevent fraying without adding bulk.
For a cushion front, wrap the backing to the reverse and sew it down with a narrow hem, or enclose it inside the cushion seam. Take small bites at the corners so they do not form bulky points. If the design will be framed, leave the excess flat until after mounting, then trim it behind the rebate.
An iron-on stabiliser can help on plain cloth, but test it on a scrap and use a low heat. Some adhesives remain slightly tacky, attract lint in humid weather, and make later cleaning difficult. A washable interlining can provide similar support if it is fixed with stitching rather than fused directly to the embroidery.
Adapt the method for different projects
The method changes with the project's scale. A hoop-mounted design can have its backing bastted and trimmed flush, then secured around the inner ring. Keep joins clear of the hoop's clamping area, which could leave an impression on the front, and avoid heavy stitching around the full edge.
Cushion fronts benefit from a continuous backing and a slightly larger allowance than the stitched panel. Before sewing the outer cushion, check that the layers are centred and that no backing corners pull toward the middle. Use a light filling and adjust the alignment after the cover is partly closed, rather than forcing a square shape through a crooked seam.
Denim needs a different approach because its twill is heavy and the weave may show through. The technique described for waste canvas on denim illustrates how a firm support can stabilise placement, but waste canvas is a separate embroidery ground, not a fabric backing. For a completed cross-stitch panel, use firm cotton and light hand stitches rather than trying to force the denim flat.
Store, display, and care for the result
Allow any dampness to evaporate before framing, especially during a humid Brisbane summer or a wet week in Melbourne. Air the piece indoors in shade, away from direct sunlight, then press it once more if needed. Sunshine can fade coloured threads, while heat from a clothes dryer can shrink a backing that was not pre-washed.
Vacuum the reverse gently through a mesh screen or soft brush and remove lint from the backing. Avoid vigorous brushing on cutwork, long French knots, or loose loops, where fibres can be pulled out. If the project is washable, follow the embroidery's care label and press the dampened reverse with a cloth barrier over the design.
Display the finished piece behind glass or in a textile frame to protect it from dust, particularly in Adelaide's dry summers when airborne grit readily clings to exposed fabric. Use acid-free tissue between the backing and the mount board, and keep the work away from radiators. Check the backing after a season for sagging or discoloration.