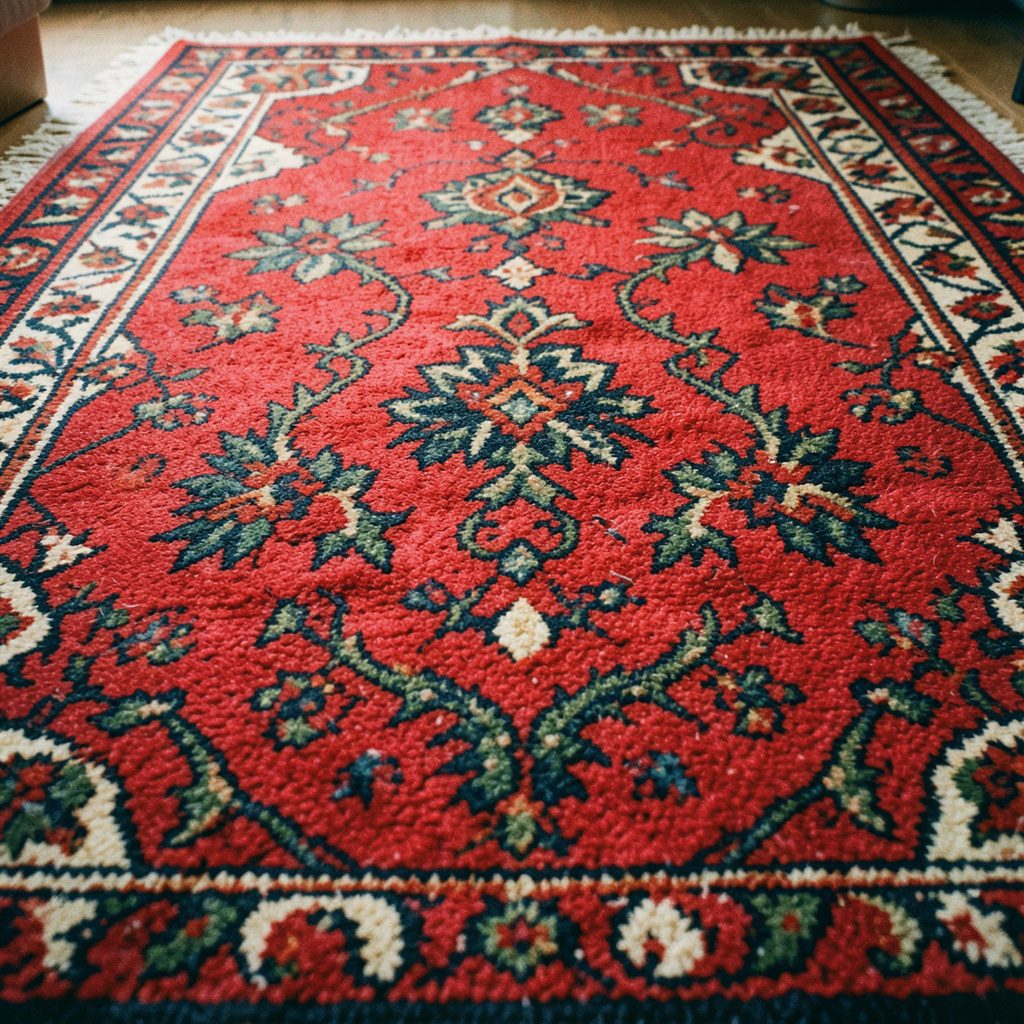
How to block a finished embroidery piece with simple techniques
After spending hours carefully stitching a design, many Australian needleworkers are surprised to learn that the final, transformative step is often the simplest. Blocking an embroidery piece aligns the stitches, evens out the fabric weave, and removes any puckering left from working in a hoop or frame. It is the difference between a project that looks lovingly handmade and one that appears polished enough to hang in a gallery in Melbourne or Sydney.
The process works on cross-stitch, needlepoint, and surface embroidery alike, and only requires a few household items. Whether you learned your stitches from a family member in Brisbane or picked them up from a needlework pattern library, the method below will help your finished work lie perfectly flat for framing, mounting, or sewing into a cushion cover.
Why blocking changes everything
Blocking is essentially the controlled wetting, shaping, and drying of a finished textile. When embroidery fabric comes out of the hoop, it often carries a permanent memory of being stretched in a circle, leaving ring marks or slight distortion. Wetting the fabric relaxes the fibres, allowing them to be repositioned before drying them in their new, corrected shape.
Beyond fixing hoop marks, blocking also squares up the fabric if it has skewed slightly during stitching. This matters enormously for geometric designs, counted cross-stitch patterns, and charted needlepoint where every stitch needs to sit on a perfect grid. Many stitchers who attend the Sydney Quilt and Craft Show report that blocking is the one step that separates competition entries from casual projects.
It is worth noting that blocking is not the same as ironing. Direct high heat can flatten the texture of stitches, crush the pile of wool threads, or scorch delicate silk. Blocking uses moisture and gentle pressure to reshape the fabric without compressing the dimensional quality of the embroidery itself.
Gathering your blocking supplies
Before you begin, assemble everything within arm's reach. You will need a flat, clean surface large enough for your piece. A blocking mat made of foam or cork is ideal, but a thick towel laid over a table works well for smaller projects. Rust-proof pins are essential, as ordinary steel pins can leave rust spots that are nearly impossible to remove from light fabrics.
Other useful items include a spray bottle filled with clean water, a clean white towel for rolling, a measuring tape or grid mat for squaring the edges, and either a steam iron or a garment steamer. Stitchers in humid coastal towns like Cairns or Hobart sometimes add a little methylated spirits to the water to discourage mildew during slow drying, though for most projects plain water is sufficient.
If you are working with a piece that will eventually be framed, have your mounting board or stretcher bars cut to size beforehand. Wool and linen benefit from blocking more than cotton, but all natural fibre fabrics respond well to the process.
Preparing the embroidery for blocking
Start by checking the care instructions for your threads. Stranded cotton, silk, and wool are generally safe to wet, but metallic threads and certain novelty fibres may react poorly. If in doubt, test a small corner with water before submerging the whole piece.
Gently wash the embroidery if it has fabric pen marks, blood from pricked fingers, or general handling grime. Use cool water and a mild detergent, then rinse thoroughly. Roll the piece in a clean towel to remove excess moisture without wringing, which can distort the stitches.
Remove any visible hoop marks by gently stretching the fabric around its circumference. For stubborn rings, a second blocking may be needed. Make sure all thread tails are secured and trimmed on the back before you begin the blocking process, as loose ends can pull through to the front once the fabric is relaxed.
Wet blocking for a deep reset
Wet blocking suits larger projects, heavily stitched pieces, and any work where the fabric has significantly distorted. Submerge the embroidery in cool water for ten to fifteen minutes, allowing the fibres to relax completely. Agitate gently but do not scrub.
Lift the piece from the water supporting it from underneath, then lay it flat on a dry towel. Roll the towel and embroidery together, pressing down to wick away moisture. Unroll, and transfer the damp embroidery to your blocking surface.
Smooth the fabric out with your hands, easing it back into shape. Use the grid on your mat or a ruler to square up the edges. Insert rust-proof pins every two to three centimetres along each side, pulling the fabric taut but not stretching it out of proportion. Pins should sit at a slight outward angle for stability.
Steam blocking for delicate fibres
Steam blocking suits pieces where you do not want to fully submerge the fabric, such as work on paper-backed canvases, heirloom textiles, or embroideries with delicate surface embellishments. It also works well when you only need to relax a small section, such as a corner that has buckled.
Lay the embroidery face down on a thick towel. Hold a steam iron a few centimetres above the surface and allow the steam to penetrate the back of the fabric. Do not press the iron down, as direct contact can crush stitches or leave a sheen on shiny threads.
Once the fabric is damp and relaxed, use your hands to reshape it on a blocking mat. Pin into place and leave to dry completely. Australian stitchers working in Perth or Adelaide often appreciate this method during the dry summer months when full wet blocking can dry out patches too quickly to shape properly.
Pinning, drying, and finishing
Correct pinning is what determines whether your finished piece lies perfectly flat or develops new distortions. Always pin from the centre of each edge outward, easing the fabric into shape as you go. For square or rectangular pieces, aim to have the weft and warp threads running parallel to your mat's grid.
Drying time depends on the climate. In humid Brisbane summers, a wet-blocked piece can take twenty-four hours or longer to dry fully. In dry inland areas, it may be ready in six to eight hours. Never speed the process with a hair dryer, as uneven drying can cause new warping.
Once dry, remove the pins and check the result. The fabric should feel smooth and the stitches should sit evenly. If any area still puckers, repeat the blocking process on that section. Some stitchers in colder regions like Canberra give their blocked pieces a final press with a dry iron through a thin cotton cloth to set the shape, though this is optional for most modern threads.
Caring for your embroidery after blocking
Once your piece is dry and flat, handle it as little as possible. Store it rolled around a clean cardboard tube rather than folded, which creates creases that are difficult to remove. If you must fold, place acid-free tissue paper between the layers to cushion the stitches.
For framed pieces, mount the embroidery on acid-free board and seal it behind glass to protect against dust, insects, and the harsh Australian sun. South-facing walls in Sydney heritage homes often provide gentler light conditions that protect textile colours from fading.
For functional pieces such as cushion covers or eyeglass cases, consider backing the embroidery with a light interfacing before sewing it into the final project. This stabilises the stitches against wear. If you are curious about the philosophy behind the curation of these patterns and why copyright-free materials matter to Australian stitchers, you can read more on the about page.
Helpful habits for better results every time
- Always test a corner of your fabric with water before committing to a full blocking method.
- Use rust-proof pins only, especially when working with white or pale fabrics where rust marks show easily.
- Block your fabric before stitching if it has been folded for a long time, as this prevents future distortion.
- Keep a dedicated blocking mat reserved for embroidery to prevent pin holes in your dining table.
- Label your blocking pins by size if you work on a mix of fine silk and heavy wool projects.
- Photograph each piece before and after blocking to track your technique over the years.