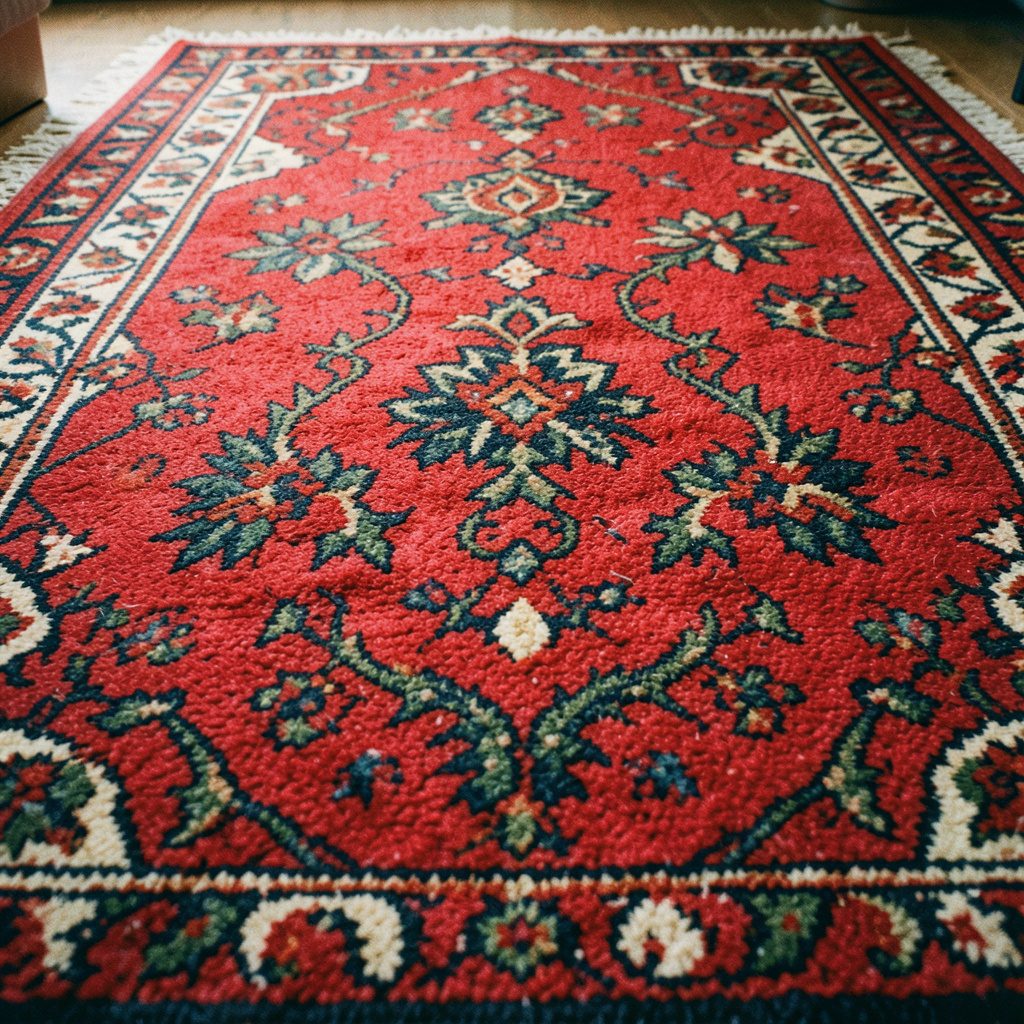
Making a needlepoint pattern for a small carpet or rug
A small needlepoint carpet or rug gives a plain floor or verandah a hand-finished focal point without the weight of a large rug. The pattern is the blueprint: it sets the motif, colour sequence, stitch direction and finished dimensions. Designing it for a small format keeps the chart manageable, but every extra border or narrow repeat must still be planned carefully so the edges remain straight.
Begin with the room, not the wool. Decide whether the piece will be a door mat, a bedside rug or a decorative panel, then measure the available space and sketch the intended shape. Work out the canvas gauge before drawing the artwork, because that determines how many squares fit across the finished width. The result should feel suited to an Australian home, where cool mornings, hot afternoons and strong seasonal light can all affect where a textile is used.
Set the size for its Australian setting
Choose a manageable footprint such as 45 by 60 centimetres for an entry mat or roughly 75 by 120 centimetres for a small room rug. In Melbourne and Sydney, hallways often sit beside tiled or polished timber floors, so plan for a firm, non-slip backing rather than relying on wool friction alone. Leave a little clearance at doorways, and avoid making the finished piece so large that it catches feet or brushes a door.
A 10- or 12-mesh canvas gives bold, durable areas and is easier to count than finer cloth. On 12-mesh, a 45-centimetimetre width needs about 212 intersections; height and every extra border row add to the stitch count. 14-mesh suits a more detailed design but increases the workload considerably. Needlework Guide's editorial approach explains its preference for useful, copyright-free resources, so an original chart drawn from simple shapes can be entirely yours to stitch and share.
Draft a motif that can repeat
Sketch the central motif at final size on squared paper, allowing one square for each canvas intersection. Florals, leaves, stylised animals and geometric forms work well; tiny lettering and crowded shading usually turn muddy when scaled down. Keep the strongest outline and two or three interior colours. If a test square looks busy, redraw it rather than trying to rescue the complication with extra stitches.
Design a border that visually holds the field together, then add a simple corner treatment instead of attempting four unrelated pictures. For a longer rug, develop one repeatable unit and chart several rows of it, checking that the joins do not create a conspicuous stripe. Practising the scale with a free floral coaster set is sensible: it shows how symbols, colour and border spacing behave on a small canvas before you commit to the larger carpet.
Convert the sketch into a stitch chart
Assign a symbol to every colour and number each row and column on the chart. One square represents one canvas intersection, with a direction note showing where the thread enters and exits. Tent and continental stitches cover most of the design quickly, while half-cross or diagonal stitches can enrich texture and hide grid lines. The diagonal stitch guide shows how slanted stitches add movement without making the chart too complex.
Plan stitch direction in blocks rather than changing direction at every symbol. Long runs of continental stitch create stable, firm fabric and use less thread; tent stitch gives a crisp outline and a slightly raised surface. In high-traffic areas of the rug, dense coverage is more durable than sparse decorative stitching. Mark the centre, key rows and colour transitions lightly on the canvas margin, and keep a coded copy beside the work.
Plan colour, fibre and light
Choose a worsted wool blend or fine pure wool for the main field, then match the weight to the mesh so the stitches sit neatly. Bunnings and general craft aisles are convenient for basic canvas and yarn, while specialist Australian embroidery shops and online wool stores usually carry finer Persian-style yarn. Pure wool can felt with heat and agitation, so use cool, gentle laundering if the piece is washable.
Test the palette in daylight, including the strong sun that reaches many west-facing Australian windows and the softer light of a verandah at dusk. Compare yarns side by side rather than relying on labels alone, since a slightly heathered wool can mute a planned contrast. Add the darkest colour only where the drawing needs weight, and use the final border to contain both strong and pale shades.
Stitch from the centre outward
Cut the canvas with a margin of at least five centimetres on every side, and stretch it squarely in a frame or over a blocking board. If the canvas is stiff, dampen the unused margin only with a spray bottle; soaking the whole piece can distort it. Thread a blunt tapestry needle with one strand of the chosen yarn, and begin at the centre mark rather than an edge.
Work in manageable blocks, following the numbered rows and changing colours at the row end where possible. Keep equal tension, never haul the thread tightly, and avoid long floats across the back. Rotate the canvas instead of crossing your wrist over the work. A small carpet can disappear into a weekend project, so spend a quiet arvo checking each row before adding the next colour.
Bind the edges and secure the rug
Block the finished stitching under a clean, barely damp cloth and reshape the outer edges while it dries flat. Do not pull the motif out of shape to meet the paper plan; correct tension during stitching instead. For a reversible floor piece, mount it on stiff linen or rug canvas, then trim and bind the exposed edges with matching yarn or purpose-made rug tape.
Whipping the cut edge with fine yarn secures the loops, while a firm binding gives a straight line and protects the side from abrasion. Add fringe only if it suits the design, and remember that it changes the finished size. In humid coastal homes, including much of Sydney in summer, allow the backing and any foam pad to dry fully before use. A non-slip underlay is essential on smooth tile.
Compare methods and check the finish
Compare pattern-making routes before deciding how much of the design to draft yourself. The practical choice depends on the size of the repeat, the level of detail and the time you want to spend transferring the image. Keep the original sketch, coded chart and colour key together, because corrections become harder once stitching has moved beyond the first few rows.
- Fix the finished size and canvas gauge before drawing the artwork.
- Limit the palette to colours tested in home lighting.
- Label the chart edges and mark every row and column.
- Leave a generous canvas margin for blocking.
- Stitch from the centre outward and check tension frequently.
- Photograph the completed chart and keep it with the original sketch.
Once the chart is complete, make a paper mock-up and compare it with the stitched centre. Check border widths, repeat joins and colour balance before continuing. If the rug will be washed, test a sample of the chosen yarn rather than gambling with the entire surface.
| Pattern-making route | Best for | Advantage | Main limitation |
|---|---|---|---|
| Hand-drawn grid | Original motifs and full control | Easy to adjust at each stage | Tedious for large, detailed designs |
| Traced motif | Simple photographs or drawings | Quick visual reference | Distortion can alter proportions |
| Repeating tile | Long runners and narrow borders | Consistent pattern across the field | Joins require careful planning |
| Purchased chart | Ready-made designs | Saves drafting time | Check copyright terms and gauge before use |
The best small-rug chart is the one that remains readable on the canvas and practical in the room. A clear border, restrained palette and secure backing will carry the design further than extra ornament, while the original chart preserves the freedom to remake the carpet in another colourway.