Satin stitch guide for solid embroidery fills
Satin stitch creates a smooth, solid area of colour by placing parallel stitches closely beside one another. It suits lettering, borders, leaves, petals and geometric motifs, while slight changes in direction help a fill follow a curve. Even spacing and controlled tension keep the underlying fabric hidden.
Solid fills are less forgiving than scattered decorative stitches, so planning, thread selection and tension control matter from the first row. This guide explains how satin stitch can cover flat or curved shapes, then adapts the method for lettering, raised motifs and practical projects.
How satin stitch forms a solid surface
Satin stitch is defined by coverage rather than one fixed stitch length. In a smooth area, each stitch may cross most of the shape and meet its neighbour near the centre. On a curved form, shorter overlapping stitches allow the direction to turn without leaving obvious gaps.
Long-and-short satin stitch alternates stitch lengths to create texture and blend colour changes. Padded satin stitch builds height, usually by filling an outlined shape in layers. Outline satin adds a firm border around the fill. These variants share the same goal of orderly coverage, but each changes the surface or the amount of work.
Direction should follow the form unless the design calls for a deliberate contrast. Rows across a leaf suggest growth, vertical stitches suit bold lettering, and radiating lines can round a flower. Mixed directions work best in separate zones, with the change concealed along a natural edge or colour boundary.
Choosing fabric, floss and needles
Choose an even, tightly woven cotton or linen with a visible but regular thread count. For beginner fills, a medium-weight fabric hides small inconsistencies more readily than fine silk. Test the combination on an offcut, because a needle that punctures cleanly may still snag fibres in a loosely woven cloth.
Embroidery floss gives more control than cotton sewing thread. One or two strands suit fine lettering and high-count fabric; two or three suit broader areas on medium cloth, subject to a test sample. The needlework resource collection includes useful background on fibres. Independent craft shops in Melbourne and Sydney commonly stock DMC and Anchor floss in Australian dollars, and Australian makers often sell small bundles at weekend markets in Melbourne, Brisbane and Sydney.
Embroidery needles sized 10 or 12 are a practical starting point for many cotton and linen grounds; bulky yarn or stiff cloth needs a larger eye. Australian project instructions often use metric dimensions, so check the finished size rather than relying on inches. Keep floss and work in a cool, shaded room, especially in humid coastal homes, and protect pieces from the fierce dry heat of inland summers.
Planning the fill and setting up
Before transferring the pattern, decide where the stitch direction will change and which areas need outlining. Comparing straight stitch techniques can help identify the simplest border or fill for each zone. Use arrows on the chart so the direction remains clear when the design is moved to fabric.
Mark the outline lightly, then punch the holes with a blunt tool rather than dragging the needle across the cloth. Mount the work in a bound hoop for cotton or linen, keeping the fabric flat and the hoop tension firm enough to prevent buckling without stretching the grain. A scroll frame suits knits or large panels.
Counted fabric provides useful guides for letter shapes and small motifs. For unstitched material, trace a chart onto canvas or use a purchased waste-canvas panel. Do not overfill waste canvas: its extra thickness can distort the finished edge, and pulling the threads hard can leave permanent ridges.
Keeping the stitches flat and even
Cut floss to roughly arm’s length, separate the strands and preserve the twist. Bring the needle up at the edge, take the stitch across the shape, and bring it out close to the previous row. Pull until the floss settles against the surface, then repeat without tightening the next stitch more than the last.
Keep rows parallel and the pressure consistent. A twisted floss may tighten unpredictably, so relax it between stitches instead of trimming the twist away. If the cloth puckers, release tension and re-hoop it; if gaps open, increase coverage slightly. Avoid dragging the needle through the fabric, as that enlarges punctures and weakens the ground.
Work larger shapes in manageable sections and secure each thread end at the back with small running stitches. At joins, begin beside the previous row so the starting and ending points do not form a visible ridge. Trim only after the ends are firmly caught, then steam or press the finished fill from the reverse where the fibre permits.
Practical checks for a reliable satin fill
Use a brief preparation routine before the first stitch:
Before you stitch
- Test the needle, floss and fabric together on an offcut, including several rows at the intended density.
- Mark direction arrows and colour-change points on the working chart.
- Hoop the fabric evenly and check that the design’s centre lines remain parallel to the grain.
- Prepare separate floss lengths for each large area rather than joining tiny pieces.
During the fill, use these checks:
While stitching
- Keep every row parallel unless a planned direction change occurs.
- Pull each stitch until it lies flat, never until it visibly tightens the cloth.
- Reposition the hoop instead of pulling floss across the work to reach a new area.
- Inspect coverage from a distance and correct open patches before joining the next colour.
| Approach | Surface and use | Advantage | Main caution |
|---|---|---|---|
| Satin stitch | Smooth, solid colour for broad shapes | Quick, even coverage | Gaps and uneven tension show clearly |
| Long-and-short satin | Textured fill with colour blending | Softens curves and changes | Takes longer and looks less crisp |
| Padded satin | Raised motif with a defined edge | Adds body to small designs | Requires careful outlining and layering |
| Outline satin | Crisp fill surrounded by a border | Gives lettering and motifs a finished edge | Extra stitching and setup |
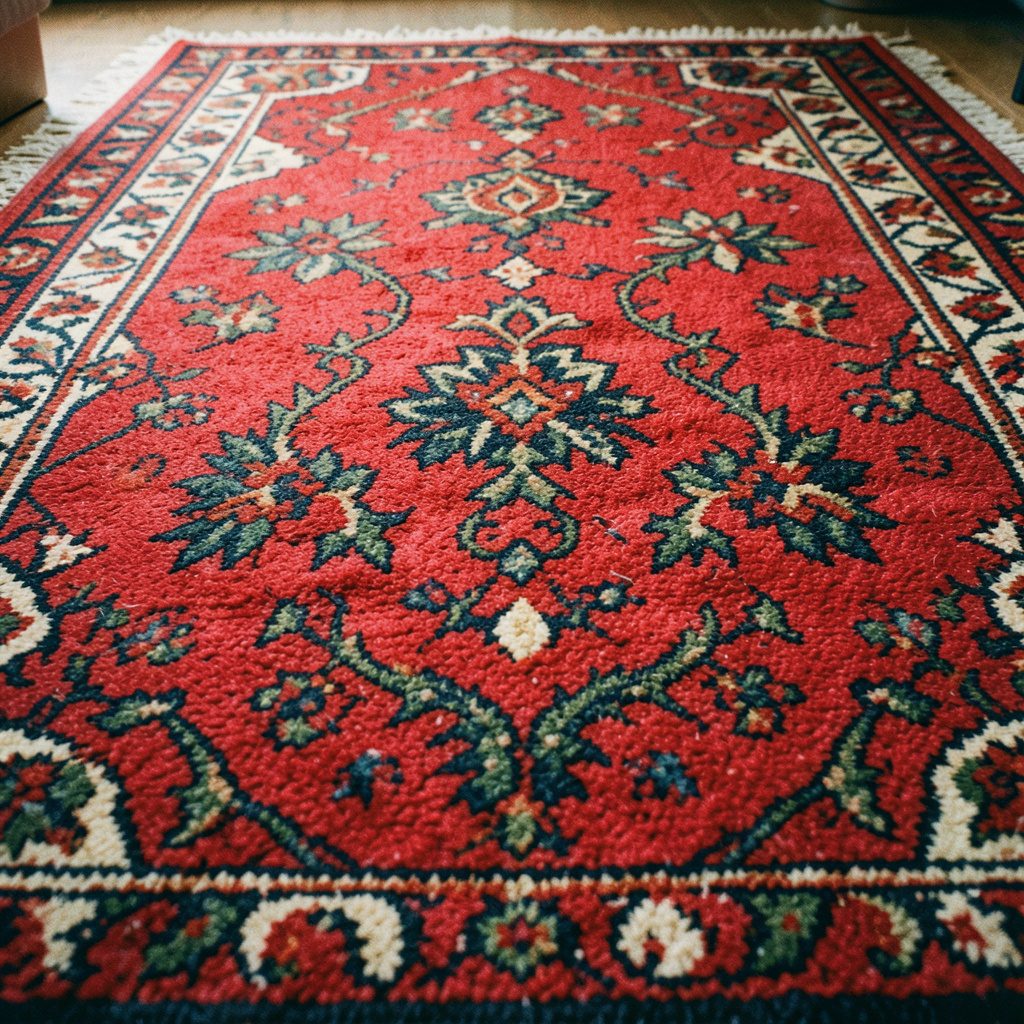
Solid areas suit cushions, eyeglass cases, framed botanical panels and sections of a decorative carpet. For Australian makers selling at design or craft markets, a neat satin-filled motif can become the focal feature of a linen pouch, table runner or recycled-fabric panel. Events such as Sydney’s Royal Easter Show also provide opportunities to exhibit textile work within a broader craft setting.
Copyright-free charts and reusable instructions should record stitch direction, fabric count and estimated floss quantity beside the design. Colour choices can then be adapted for local yarn, thread and recycled-cloth projects without altering the original pattern. Clean, flat coverage and secure thread ends give the finished embroidery the same durable character as the careful planning behind it.