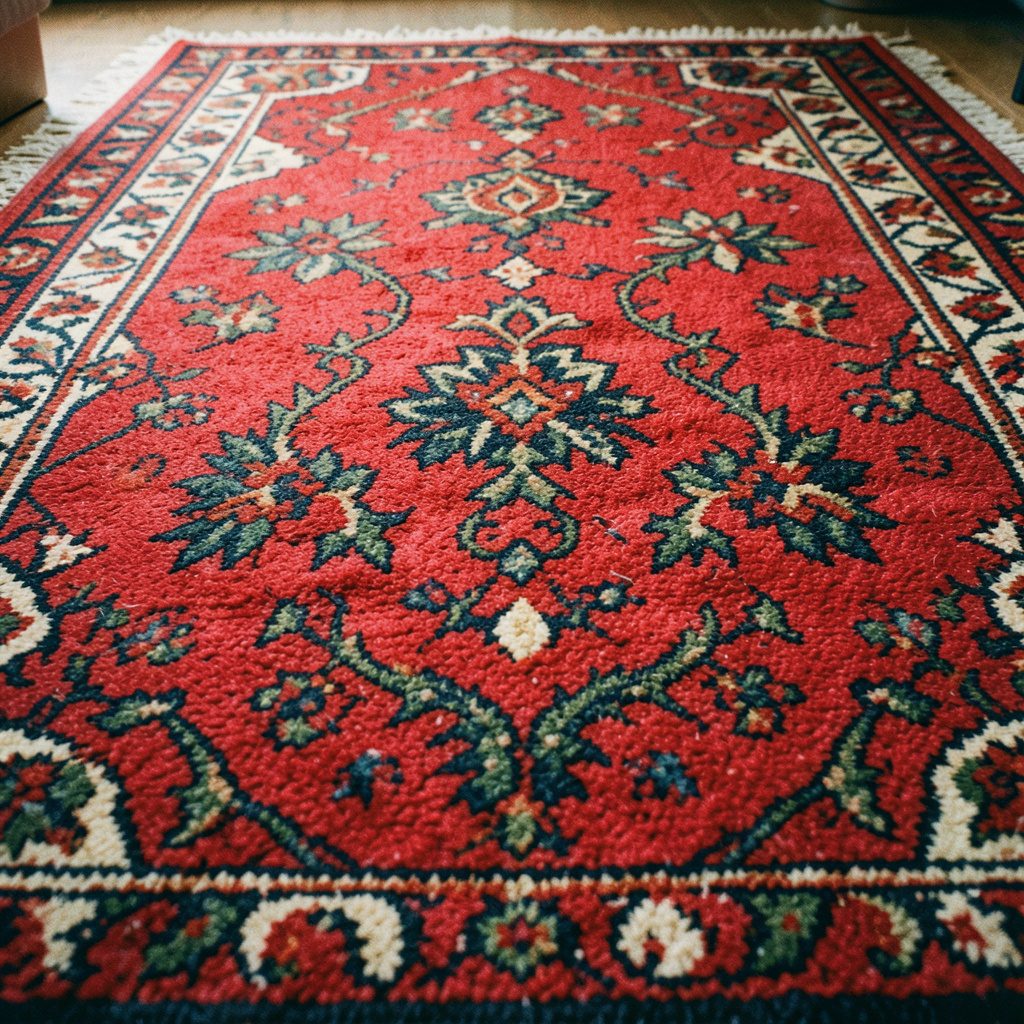
Making a needlepoint welcome mat from rug canvas
A handmade welcome mat can bring colour and personality to an entryway without requiring a complicated design. Rug canvas provides a firm, open grid that is easier to count than fine needlepoint canvas, making it suitable for bold motifs, initials, native flowers and simple geometric borders.
The finished piece is best treated as a decorative indoor mat or a covering for a sturdy base. Needlepoint wool and rug canvas can handle regular contact, but prolonged rain, intense sunlight, grit and dampness will shorten their life. A sheltered verandah, enclosed porch or hallway is a more practical location than an uncovered front step.
This project also offers a useful way to practise even tension and clear chart reading. Choose a design with large blocks of colour, prepare the edges carefully and allow enough time for mounting. The result should lie flat, resist curling and feel secure underfoot.
Choosing the right canvas and design
Rug canvas is a stiff, evenly woven mesh made for larger-scale needlepoint and rug work. It is commonly sold in plastic or textile forms, with the grid size determining how much detail the finished design can show. For a welcome mat, a firm textile rug canvas is comfortable to stitch and easier to mount, while plastic canvas is useful for a very structured project or a decorative mat that will sit beneath furniture.
Select a size that suits the entry area rather than filling the entire floor. A small mat around 45 by 70 centimetres works well in an apartment hallway, while a larger piece may suit a covered Queenslander verandah. Leave a generous margin around the design so the stitching does not reach the edge. This border will be hidden or folded during finishing and helps prevent the canvas from distorting.
Simple motifs are the most successful. Try a central “WELCOME” panel, a border of leaves, a repeating diamond pattern or stylised wattle, banksia or eucalyptus shapes. Avoid very fine lettering and intricate shading, because the coarse mesh turns small details into indistinct blocks. Copyright-free charted patterns can provide a starting point, provided the scale is enlarged to match the rug canvas.
Gathering materials and preparing the chart
You will need rug canvas, a blunt tapestry needle with an eye large enough for the yarn, rug or tapestry wool, sharp scissors, masking tape, a ruler, a design chart and a flat surface for checking the work. A needle minder or small tray is useful for keeping several colours organised. Choose hard-wearing wool or a wool-blend yarn rather than delicate embroidery floss, which is too thin for most rug canvas and may leave the ground exposed.
Measure the canvas before cutting. Add at least 5 to 7 centimetres on every side for handling and mounting. Cover the raw edges with masking tape or bind them with a quick row of whip stitch. This prevents the mesh from fraying and stops the needle catching on loose threads. Mark the centre of the canvas and the centre of the chart, then count outward so the design remains balanced.
Colour choice deserves attention in Australian homes, where strong daylight can make bright tones look even sharper. Terracotta, eucalyptus green, cream, navy and muted ochre work well with timber, tiles and neutral interiors. If the mat will sit near a sandy beach entry in Perth or on a busy Melbourne porch, medium and dark shades will disguise ordinary dust better than a pale cream background.
Stitching the welcome mat
Basketweave tent stitch is a dependable choice for a floor textile because it creates good coverage and reduces the risk of diagonal rippling. Work each stitch over one intersection of the canvas, keeping the direction consistent. On a rectangular piece, change the diagonal direction in sections rather than following long rows across the entire mat. This helps distribute tension and keeps the canvas closer to its original shape.
Begin with the background or the largest colour area, then add lettering and decorative motifs. Use a separate length of yarn no longer than 45 centimetres to reduce tangling and wear. Bring the needle up from the back, pass it over the required canvas intersection and return it through the next hole. The back does not need to be perfectly decorative, but avoid long carried threads that could catch toes or show through pale areas.
For raised accents, small sections of straight stitch can add stems, rays or lettering details, but use them sparingly on a mat that will receive foot traffic. The guide to straight stitches is useful when you want to add simple linear features without changing the whole project to a different technique. If your tension feels uneven, practise first on a small scrap; a simple dishcloth practice project can also build confidence with counting and maintaining a steady rhythm.
Pause regularly to place the canvas on a table and inspect it from a short distance. Uneven tension is easier to correct before several more rows cover the area. If the mesh begins to bow, loosen the last few stitches rather than pulling the canvas aggressively back into shape.
Blocking, backing and mounting
When the stitching is complete, trim loose yarn ends on the reverse and gently smooth the piece. Do not soak the mat unless the yarn label specifically permits washing. Excess water can cause wool to shrink and may distort the canvas. Instead, place it face down on a clean towel and lightly mist the reverse if necessary. Pin the edges square on a padded board, measuring the corners and sides as you go, then allow it to dry fully.
A backing makes the mat more stable and protects the underside of the stitching. Cut a piece of felt, canvas or low-pile rug backing slightly smaller than the stitched area. Sew it to the folded canvas edges with strong thread, keeping the needle away from the main stitched field. For extra grip, add a removable non-slip mat underneath rather than coating the needlework with a permanent rubber product that could become brittle.
The safest placement is a dry, sheltered threshold. An uncovered entry in Darwin or Brisbane may expose the fibres to heavy rain and humidity, while direct afternoon sun in Adelaide or Perth can fade yarn surprisingly quickly. Keep the mat away from standing water, wipe shoes before stepping on it and lift it regularly to sweep underneath. A gentle shake outdoors and occasional vacuuming with suction only will remove grit without pulling the stitches.
Practical choices for an Australian home
Before cutting the canvas, decide whether the mat will be a functional floor covering, a decorative panel or a removable insert for a commercial mat frame. A fully stitched design takes longer but has a cohesive appearance; a stitched centre mounted onto a plain coir or rubber base may provide better durability at a busy family entrance. Local craft shops, larger haberdashery departments and Australian online needlework suppliers often stock rug canvas, tapestry wool and non-slip underlay, while general hardware stores commonly carry suitable mat bases.
The following comparison helps match the construction to its intended location:
| Project choice | Best use | Advantages | Limitations |
|---|---|---|---|
| Textile rug canvas with basketweave | Indoor hallway or sheltered verandah | Comfortable, traditional and easy to stitch | Can absorb moisture and needs careful blocking |
| Plastic rug canvas | Decorative indoor mat or insert | Keeps its shape and resists fraying | Less flexible and may feel firm underfoot |
| Stitched panel on a commercial base | Busy entry or family home | Better grip and easier replacement | Requires accurate mounting |
| Full needlepoint mat with felt backing | Low-traffic display area | Handmade appearance on every surface | More vulnerable to abrasion and grit |
| Coir or rubber mat with stitched accent | Outdoor-adjacent doorway | Handles heavier use than needlework alone | The stitched section remains weather-sensitive |
Useful habits will keep the project attractive and safe:
- Choose a sheltered, dry position rather than an exposed outdoor step.
- Use durable rug wool and keep carried threads short on the reverse.
- Add non-slip underlay, especially on polished timber, vinyl or tiled floors.
- Check the mat after wet weather and dry it completely if it becomes damp.
- Vacuum gently or shake it clean instead of using a rotating brush.
- Store it flat in a breathable cover when it is not in use.
A rug-canvas welcome mat rewards careful preparation more than complicated stitching. With a bold chart, a stable backing and colours suited to the surrounding Australian home, it can become a practical piece of needlework that welcomes visitors without being treated as a disposable floor covering.