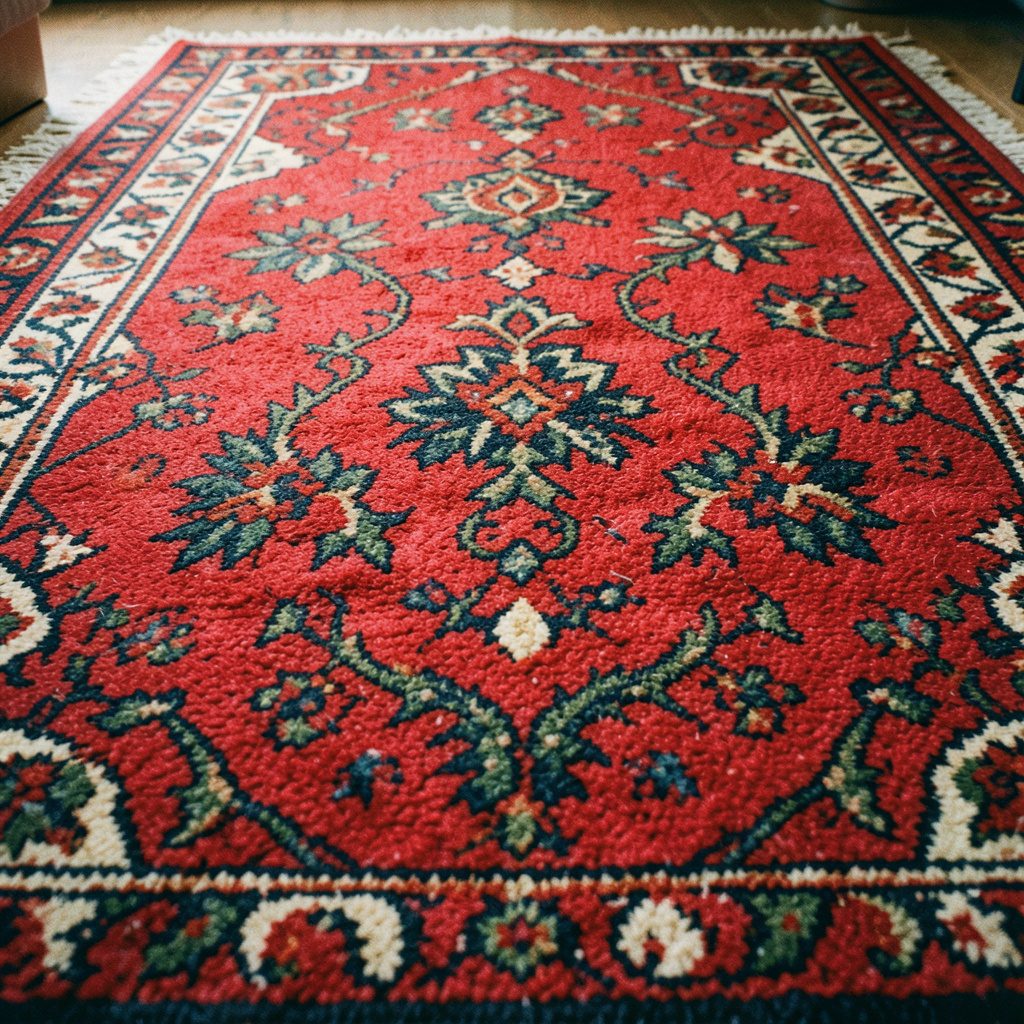
Design needlepoint patterns on graph paper
Using graph paper to design your own needlepoint patterns turns a sketch into something you can check, rescale and stitch with confidence. The grid lets you plot the canvas intersection occupied by each coloured area, so design decisions happen on paper rather than disappearing into the mesh.
Counted needlepoint suits this method because every visible square can represent a canvas position. Graph paper also supports borders, repeated motifs, lettering and geometric patterns, while remaining adaptable enough for freehand floral shapes and irregular outlines.
In Australia, an A4 metric graph-paper pad is a practical starting point and is easy to find in stationery and art-supply aisles. Working in centimetres from the outset makes it simpler to compare the drawing with the canvas and finished-object dimensions without converting every measurement.
The finished chart should tell another stitcher what to make, not merely suggest it. Clear symbols, a colour key, an indication of the unworked canvas margin and a note about the intended stitch will turn a personal drawing into a reliable pattern.
Choose a usable square grid
Choose a pad with evenly spaced squares in a comfortable size. Five-millimetre squares are easy to mark and divide, while ten-millimetre squares reduce visual clutter for large motifs. An A4 sheet in portrait handles a tall panel; turn it landscape for a wide border or sampler. Lightweight paper is easier to trim, but a sturdier sheet is useful if the chart will be marked repeatedly.
Work in pencil first, then add colour with coloured pencils or fine markers that will not bleed through the paper. A clear plastic overlay can help you move a motif without repeatedly redrawing it. Keep a separate scale rule beside the sheet, and label the grid interval immediately; otherwise, a five-millimetre square is easily mistaken for a ten-millimetre one.
Match the drawing to canvas mesh
Canvas is sold by mesh count, meaning the number of holes per 25.4 millimetres, and the common 12-, 14- and 18-mesh choices produce different finished sizes from the same chart. Before plotting, draw a small sample block on graph paper and count the actual intersections on the canvas you will use. Mark one graph square as one canvas position, but treat that square as a counting unit rather than a physical size.
Treat the number of canvas positions as the stitch count across the design. Fourteen mesh provides about 5.5 intersections per centimetre, so a width of 55 positions finishes at roughly 10 centimetres. Record this calculation beside the chart, because a design drawn to a pleasing shape on A4 paper may otherwise be much larger—or smaller—than expected.
Simplify motifs into stitchable shapes
Begin with one strong shape and break it into regions that can be filled with a consistent stitch. Australian subjects such as banksia, waratah or narrow eucalypt leaves make good exercises because their outlines can be simplified without losing identity. For a floral sampler, reduce petals to blocks, mark the centre as a separate shape, and decide which direction each region will run.
Original sketches and public-domain botanical references provide a safer starting point than a commercially charted motif. The Australian National Wool Museum in Geelong offers useful visual context for sheep breeds and fleece structure, while its displays can inspire textures based on tightly packed curls rather than generic outlines. Separate inspiration from direct copying, and record the source of any older motif you adapt.
Build borders, repeats and symmetry
Once the central motif is stable, extend the grid for a border and identify the repeat unit. A border can be built from one small diamond, leaf or wave, then repeated around all four edges. Check the corner treatment separately: a repeat that works along a straight edge can break where vertical and horizontal bands meet. Draw the corner as a diagonal transition or use a small motif that visually locks the two runs together.
Symmetry provides consistency without making the design rigid. Fold the chart along its axis to transfer mirrored leaves, then add a central line with a chain or outlined stitch. For a repeated field, draw one tile with its edges meeting, copy it in alternating directions, and inspect the joins at actual size. Leave breathing space between major blocks so the eye can separate them after stitching.
Plan stitches and colour carefully
Choose the stitch before assigning final colours, since texture changes how solid a filled area will look. The box stitch guide is helpful for firm edges, defined corners and small blocks where a looser tent stitch may distort. On broad fields, continental or basketweave stitch gives a flatter surface; use a textured stitch sparingly for borders and focal details.
Use a legend that pairs each colour with a symbol, yarn or floss reference and intended stitch. Number the colours in working order, from background to foreground, to reduce handling. Australian needlepointers can choose from readily available cotton embroidery floss or wool ranges, but match the listed fibre and thickness rather than substituting by colour alone. A tiny swatch will reveal whether the planned colour contrast survives in the chosen light.
Test the chart before full stitching
Before committing the whole canvas, stitch a five-centimetre sample containing the background, the main fill and one sharply bounded shape. Use the exact canvas and thread from the project. Check the chart against the stitched result for direction, tension and colour placement; if a region looks crowded, simplify it while the correction is still inexpensive. Keep the sample beside the chart as a visual key.
At Melbourne’s Queen Victoria Market and independent maker stalls across Sydney, small stitched objects often need to read clearly at a glance. That same test applies to a cushion panel or eyeglass case: strong outlines and a limited palette can look more deliberate than tiny areas of near-matching colour. Design for the object’s purpose, including its seam allowance and the space needed for a label or fastening.
Document and share the finished pattern
Turn the final drawing into a usable pattern by adding the canvas mesh count, finished dimensions in centimetres, unworked margins, colour key, stitch plan and a small thumbnail of the finished object. State whether one graph square equals one canvas intersection and include any nonstandard symbols in the key. A dated note about revisions prevents an old working chart from being mistaken for the final version.
Keep provenance and references tidy, but separate them from the stitching instructions: an unrelated casino app tournament bookmark belongs in a general reference list, not in the chart key. For original work, name the designer, grant permission for reuse where needed and point to copyright-free sources rather than reproducing a protected commercial pattern. A complete, tested pattern lets another maker understand both the finished object and the decisions behind it.