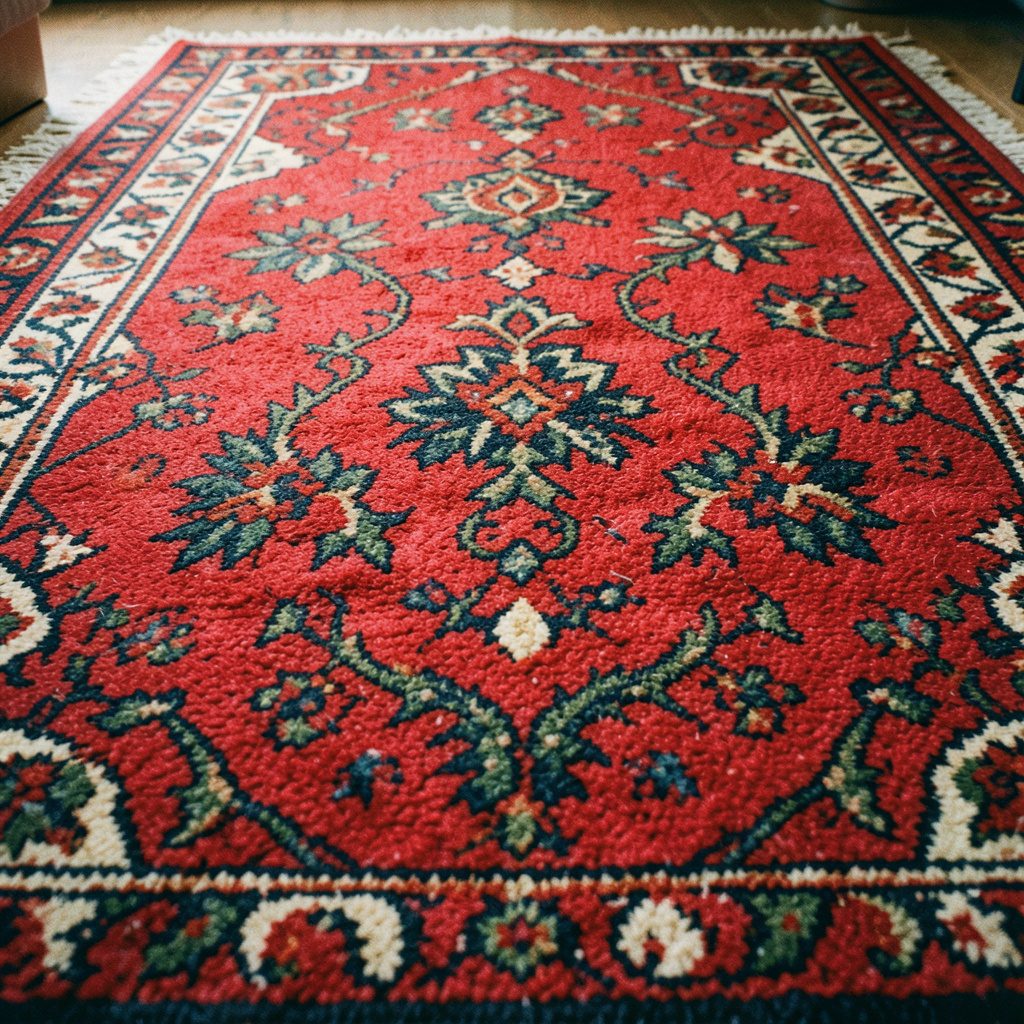
A free charted needlepoint butterfly coaster
A small stitched butterfly can turn an ordinary coaster into a cheerful accent for a cup of tea or a favourite mug. This free charted pattern uses one bold needlepoint motif on open canvas, making it approachable for a beginner who wants clear instructions without a complicated kit. The chart is free to copy for personal needlework.
Everything comes from standard craft supplies: stranded cotton, a blunt tapestry needle, evenly woven canvas and a firm backing. Work the butterfly in tent stitch, then block and mount the panel so it lies flat and handles daily use. With the scale below, the finished coaster is about 10 by 9 centimetres.
Golden-yellow wings, a teal-blue outline, coral markings and a green body sit against a cream ground. The palette can be changed easily with leftover thread, while the broad background keeps the small motif crisp and balanced.
Plan the canvas and materials
Use 7-mesh single-weave canvas and cut a piece large enough for 54 by 50 intersections. Each chart square represents a two-by-two block of canvas intersections, so the 25 by 23 chart needs 50 by 46 intersections, plus extra canvas around the edges. This scale produces an approximately 8.9 by 8.2 centimetre stitched panel. Australian craft counters commonly offer canvas by mesh count, so check the packet before buying.
Use a size 18 blunt tapestry needle, small sharp scissors and five colours of six-strand cotton. DMC Winter White 3865, Yellow Medium 743, Peacock Blue 807, Melon Light 3708 and Moyo Green Dark 3001 provide the colours used here. These are widely stocked at Australian craft suppliers, and one skein of each is ample for a single coaster. Felt, thin plywood or MDF, PVA adhesive and bias tape complete the mounting materials.
Read the butterfly chart
The chart is read from top to bottom and left to right. Each square is a two-by-two block of tent stitches, not a cross-stitch symbol; the spaces between groups of five characters help with counting. The row numbers are guides too and are not part of the design. Every dot calls for cream, while the letters identify the coloured parts of the butterfly.
01 ..... ..... D.D.. ..... .....
02 ..... ....D D...D .....
03 ..... ....D D...D .....
04 ..... ..... D.DD. .....
05 ..... ..UUU UUDUU UUU.. .....
06 ..... UUUUU UUDUU UUUUU .....
07 ....U UUUUU UUDUU UUUU. U....
08 ...UU UUUUU UUDUU UUUU. UU...
09 ..UUU UUUUU UUDUU UUUU. UUU..
10 ..UYY YAYYA YUDUY AYYYA YYU..
11 ...UY YAYYA YUDUY AYYYA YU...
12 ....U YAYYA YUDUY AYYAY U....
13 ....U UUUUU UUDUU UUUU. U....
14 ...UU UUUUU UUDUU UUUU. UU...
15 ..UUU UUUUU UUDUU UUUU. UUU..
16 ..UYY YAYYA YUDUY AYYYA YYU..
17 ...UY YAYYA YUDUY AYYYA YU...
18 ....U YAYYA YUDUY AYYAY U....
19 ..... UUUUU UUDUU UUUU. .....
20 ..... ..UUU UUDUU UUU.. .....
21 ..... ..... ..... ..... .....
22 ..... ..... ..... ..... .....
23 ..... ..... ..... ..... .....
Use the legend to choose the thread for each block: Y is yellow, T is teal, A is coral and B is dark green. The dots form the cream ground. Align the actual canvas to the row and column counts rather than to the visual width of a printed page, and pin the canvas to a board before the first stitch.
Plan the colour order before threading the needle. Working the cream ground first gives you a stable grid, after which the coloured wings can be filled block by block. If you prefer to follow the rows, mark each colour change with a blunt pencil and keep the thread tails on the reverse.
Work the tent stitches
Thread the needle with two strands of cotton and work diagonal tent stitches across the canvas. Keep the top threads flat and parallel, with gentle tension that still allows the canvas to settle without puckering. Use a single strand for the narrow antennae and centre body if the edges begin to crowd, and never pull a strand tightly to correct a gap.
For the exposed canvas edge, the box stitch guide explains the crossed-stitch sequence used to give needlepoint a firm outline. Work that border after the coloured areas are complete, using waste canvas to practise the rhythm if you are new to the method. Leave the charted margin in place until the perimeter has been secured.
Carry unused floss loosely across the back, where the backing will hide it, rather than across the face. Turn the work over regularly to catch snags before they tighten into ridges. Even, uncrushed stitches will keep the butterfly crisp after the panel is mounted.
Block and mount the coaster
Block the panel before mounting it. Lightly mist the reverse with water, lay the work face up on a clean towel and pin it to a flat board slightly larger than the stitched area. Pull the edges gently until the canvas lies square, then leave it until completely dry. Do not soak the cotton or stretch the butterfly out of shape while checking the alignment.
Cut a thin plywood or MDF base to about 10 by 9 centimetres, cover one face with felt or linen and trim the stitched panel to the edge of the completed block. Apply a thin, even coat of PVA glue to the back of the canvas and press it onto the covered base. A few small rust-resistant staples on the reverse add security without showing on the front.
For a related small-format accessory, the geometric eyeglass case project demonstrates the same tidy panel-and-backing approach with a different motif. The same felt-covered base and careful edge finish suit a cup, a travel tin or a small gift pouch.
Protect the finish in Australian conditions
In humid weather, give the PVA glue and backing time to cure fully before the coaster is used. Brisbane’s humid summers can keep moisture trapped beneath a backing, while a damp felt edge may develop a musty smell. Cotton also responds to heat, so keep the finished piece away from a sunny windowsill; strong coastal light in Sydney can fade the yellow and coral more quickly than expected.
Bind the exposed base edges with bias tape or a narrow strip of folded fabric, turning the corners neatly and stitching them down on the reverse. This protects the board and gives the small object a useful lip. Rinse the stitched face only when needed, using cool water and mild detergent, then lay the damp canvas face down on a towel to restore its shape.
Recommendations for a dependable coaster
The colour scheme is flexible, but the construction works best when every thread has the same weight and the canvas blocks stay evenly filled.
- Use 7-mesh canvas with the stated two-by-two scale; 13-mesh will produce a smaller motif unless the chart is enlarged.
- Work two strands for the broad areas and one for the antennae, keeping every tent stitch parallel.
- Tape or pin the chart beside the canvas instead of placing it on the work, which keeps the printed symbols clean.
- Test the adhesive on a scrap of backing and allow it to cure in the room where the coaster will be used.
- Label the reverse with the maker’s name and stitch date, using washable thread for the inscription.
Small needlework objects fit the Australian handmade market particularly well. Hand-stitched accessories appear among the makers at the Royal Easter Show in Sydney, Melbourne’s Design Market, the Brisbane Ekka, the Royal Canberra Show and Adelaide’s artisan markets. A coaster with a local colour story, a fabric-bound edge and a signed reverse has the practical finish expected of a useful market piece.